Whenever I cook any mexican cuisine in our home, it’s really hard not to grab some chips and queso to go along with it. It just feels right. Of course, whenever we go to our favorite mexican restaurant, we snack on chips and queso. Bonus points if the restaurant serves queso blanco. That’s my absolute favorite.
We’ve always wanted to recreate the queso blanco that we love in our own home, and while we LOVE this recipe, I was curious about this particular recipe that I saw, since it seemed so much quicker to throw together. You just throw the ingredients in a bowl and nuke it. And for those of you who aren’t fans of Velveeta, no worries…there’s no Velveeta in this recipe!
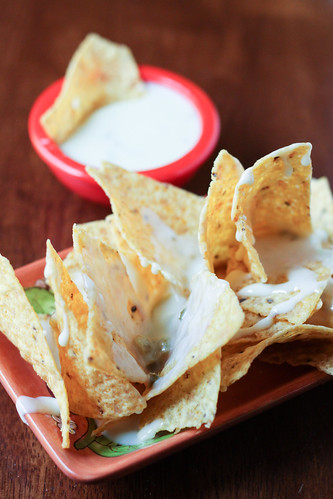
Microwave Queso Blanco
Source: Pennies on a PlatterIngredients:
- 1 1/4 lb. block White American Cheese (commonly found at the deli counter), cut into 1-inch cubes
- 1/4 cup diced green chiles
- 2 pickled jalapenos, chopped
- 1 oz. pickled jalapeno juice
- 2/3 cup whole milk
- 1/2 cup cold water
- pinch of cumin (optional)
Directions:
- Place all the ingredients in a large bowl, that is safe for the microwave. Microwave the mixture for 5 minutes, stopping to stir the cheese every minute. Don’t worry if the mixture doesn’t look like it’s going to come together at first. Eventually, it will.
- Stir the cheese well again and serve. If you have leftover queso, just stick it in the fridge and reheat in 30 second intervals in the microwave until the cheese is hot again.