When I made my first batch of caramel, I was so surprised at the taste. I was ready to taste a more flavorful Kraft caramel, but instead, homemade caramels tasted completely different. Completely. Homemade caramels are in a league of their own.
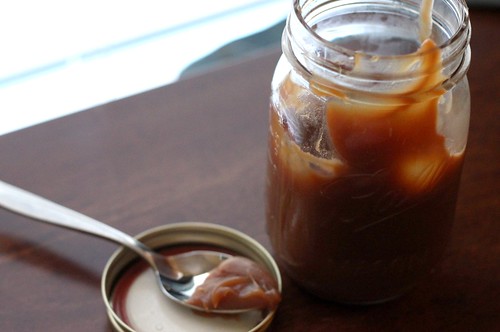
The same goes for caramel sauce. The homemade stuff tastes NOTHING like Smucker’s, and this stuff is much easier to make than caramel candy. No thermometer needed (Wahoo!), and it comes together fairly quickly. There’s still some of this precious sauce left in the refrigerator, and it’s taking everything in me not to finish that jar with a spoon. Diet be darned!
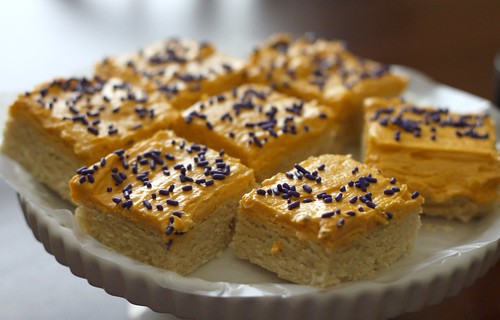
Salted Butter Caramel Sauce
Source: Smitten KitchenIngredients:
- 1 cup sugar
- 6 tbsp. salted butter (in tbsp.-sized slices)
- 1/2 cup + two tbsp. heavy cream, at room temperature
Directions:
- Add the sugar to a 2-3 qt. sized pot, and melt over medium to medium high heat. As the sugar starts to melt, whisk or stir to ensure that the sugar doesn’t burn and heats evenly.
- Cook the sugar until it melts to a dark caramel color. Add the butter tbsps. at the same time and stir it in. Then, pour in the heavy cream. You’ll notice that the pot is going to foam up so do these steps carefully to avoid burning yourself.
- Remove the pot immediately from heat and whisk it until you get a smooth sauce.
Note: You can either use it right away or store it in the fridge up to two weeks. Popping it in the microwave for about a minute will make it it’s original consistency again.
I’ve chosen the two winners of the Butterball turkey gift certificates. Thanks to all of you who entered!
EDITED:
Due to the lack of response from the original winners, I had to re-draw for the Turkey gift cards!
cara….who said:
I try to get as much done as I can the night before and we rent an extra fridge!
AND
Kayla…who said:
My tip is to make your SIL host so you can just show up with your pecan pie and call it a day.

For the two of you who won, to redeem your prize, please email me within 48 hours at niftyfoodie@gmail.com! Congratulations!