I can’t believe that I’m typing out this recap right now. For weeks, I was anticipating attending this conference, and while I had a feeling it would be over in the blink of an eye, I still can’t believe it’s really over. Inspiring sessions, meeting amazing fellow bloggers and of course, seeing Mickey…it’s hard to put into words how wonderful this conference was, but oh man, if you ever have the opportunity to attend this conference, do it.
One of the biggest things that happened for me is that I walked away from this conference so inspired to make a huge change to this blog, and hopefully in the coming weeks, you will see those changes actually happen. I was waivering on making these changes for a while, but one session in particular let me know that this change is a good thing. I just hope you guys will be as excited about this as I am. (No spoilers yet…)
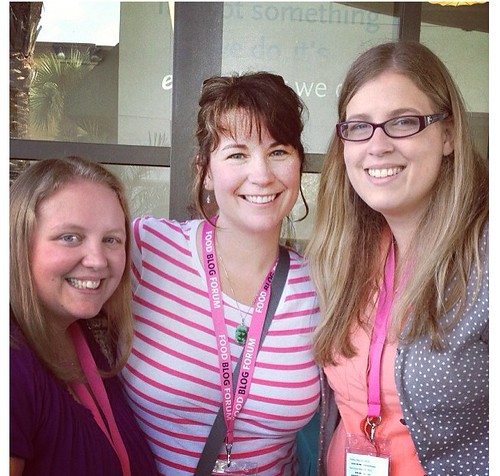
When I flew in to Orlando on Friday morning, I was pretty darn anxious. You see, I’m an introvert. There was no borderline on the Myers-Briggs test. I answered every question, except for two of them, in the introvert range. I can talk all day on Twitter and Facebook, but when it comes to being face to face, I’m pretty darn shy. I was nervous about what bloggers would think of me, and what I would think of them. All of this time, I’ve been speaking with many of these bloggers on social media, but it was going to be in real life this weekend. NERVES Y’ALL! NERVES!
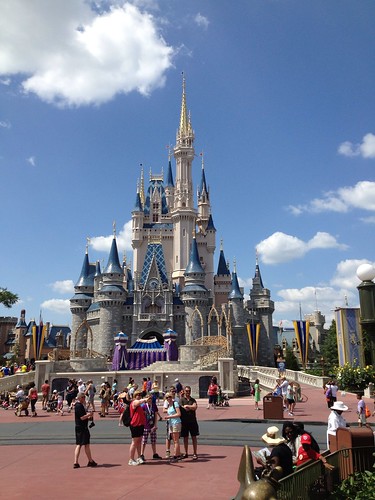
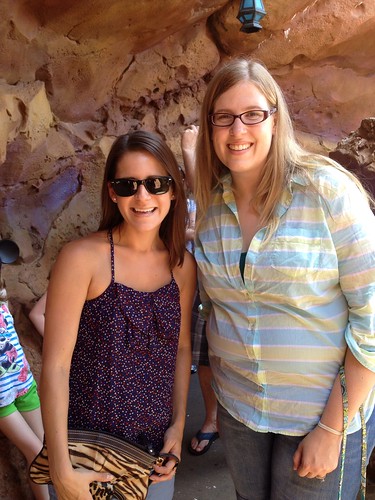
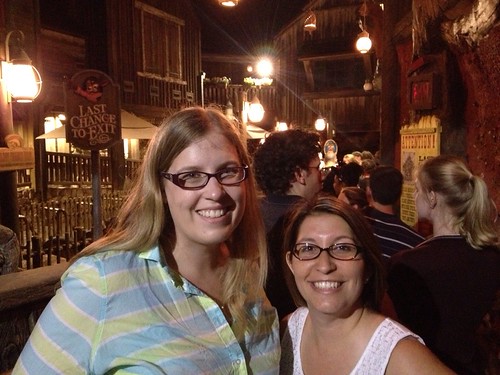
The first person I met was Katie of Ruffles & Truffles. Katie and I used to blog for WeddingBee (I was Mrs. Ballet Flat…she was Mrs. Buttons) back in our wedding planning days, and the wonderful thing about WeddingBee bloggers is that when we meet each other, it’s like we’re instant pals. We have unofficial meet-ups from time to time, and when there was one in New Orleans, it was like we were all long lost friends. This was no different. Thanks Katie for letting me run around Magic Kingdom with you and your family. 🙂
I was surprised at the park crowds on Friday…we were able to hit up a ton of rides in a few hours! I totally appreciated that our hotel rooms were in the Grand Floridian…it was a quick, easy boat ride back to the resort, so I could have ample time to get ready for the welcome reception that evening. This was the part I was most nervous about…I’m one of those people who constantly worries about what others think about me, so I was hoping I wouldn’t get too shy. I was so happy to see that everyone I met was super sweet. I was shocked that a few people knew of me before I introduced myself! Even more shocking…a couple of people told me I looked great and I inspire them (about my weight loss journey so far). I was seriously shocked…I’m pretty surprised when anyone tells me my weight loss journey inspires them. It’s still crazy and new to me. 🙂
The food at the reception was absolutely wonderful. I was still quite full from eating a burger earlier in the parks (OMG…the portions at Disney are ridiculous), so I didn’t eat too much. I definitely focused a lot on meeting people, because the hour flew by so fast.
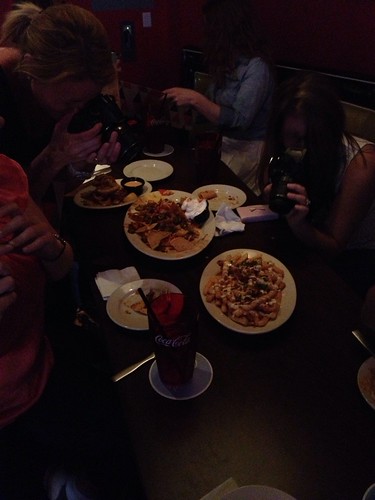
Afterwards, I met up with a few bloggers at Splitsville, which a bowling/dining place in Downtown Disney. I received an email invite to attend a little blogger get-together there, and we had a blast. I actually got a couple of strikes, which is SO NOT LIKE ME. We ate quite a bit of food….they offered everything from BBQ chicken nachos, to pizza, to sushi! There’s pretty much something for everyone here, and the food was pretty darn tasty! Since I haven’t had food like this in a long time, I definitely took no time to dig in. 🙂
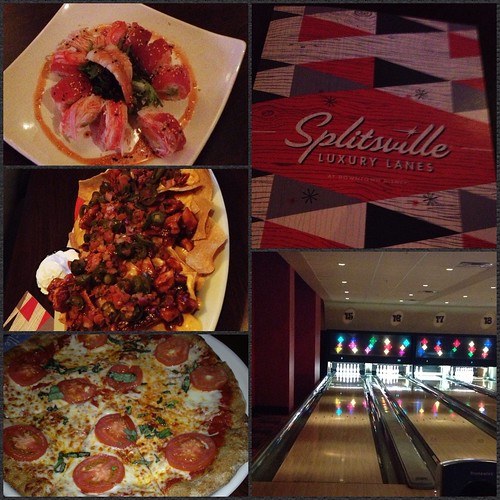
I was also impressed by the bowling alley. It had a vintage-y feel to it, and I think it would be a fun place to go if (when) I come back to Disney World with my family. 🙂
Oh, and I had to include this picture just for kicks. You know you’re hanging out with a bunch of bloggers when…
{Disclaimer: We were provided with free bowling/food at this event by Splitsville.}
During the get-together, I got to meet/talk to Katie of Katie’s Cucina (as well as her husband…they have a DIY blog together called Sew Woodsy). We were talking about our plans after this, and we realized (along with Alicia of Alicia Carlson Photography) that we all had the same plans to hit up Magic Kingdom. So after we finished bowling, we all headed back to Magic Kingdom right as the fireworks were ending, which meant going against the crowds. Oh boy…
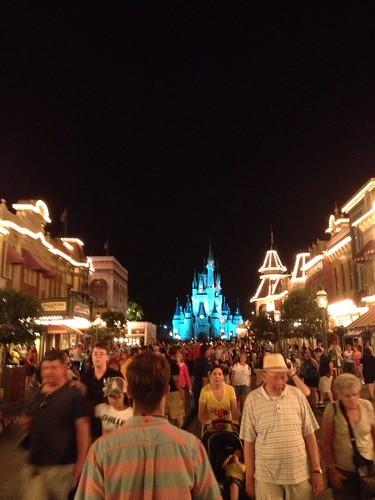
You gotta love that when the fireworks end, the parks clear out pretty much. Splash Mountain had a 15 minute wait time (which actually was more like 5 minutes)…unheard of! Splash Mountain is my must-ride whenever I go to Disney World. I just love it…it’s so cute and fun, plus the drops are the BEST!
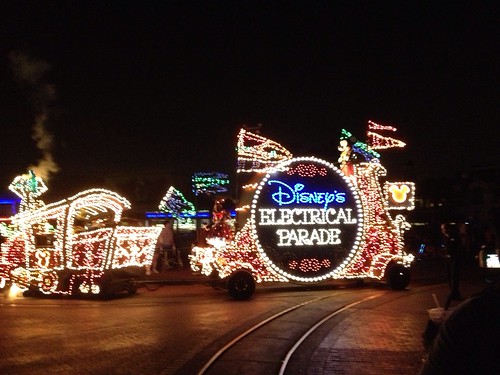
When the ride was over, it was pretty much closing time, so we headed out of the park and we were pleasantly surprised to see that the electrical parade was starting! I haven’t seen the night parades in a long time, so it was a treat to see. It was so cute…
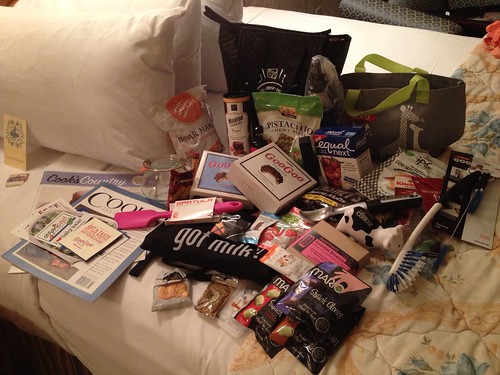
The next day, it was time for the conference! When I walked in the conference center, we were all greeted with our generously full swag bags. Holy cow.
I claimed a seat, and immediately went to grab some breakfast. Disney sure knows how to fancy up a fruit salad!

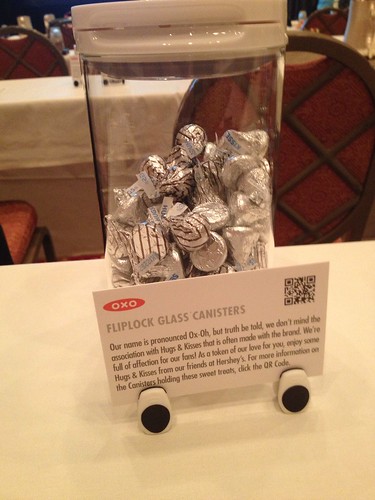
OXO also had these little evil canisters of loveliness at the conference tables. I loved the idea of hugs and kisses, since their company name is OXO. 🙂 Is it weird that I want to put these canisters (minus the candy lol) on my Christmas wishlist?
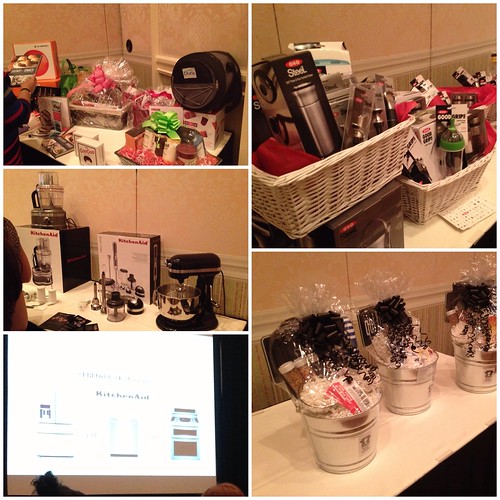
After I scarfed down some fruit and a bagel, I went to the back and was shocked by the amazing prizes being offered. Goodness….the sponsors were SO generous!
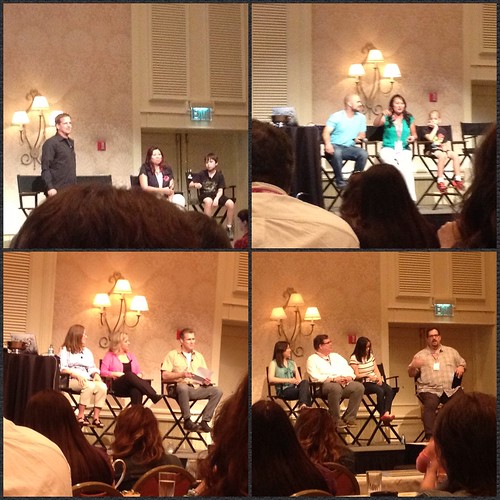
I learned a good bit from the sessions, and the speakers were just awesome. There was even a Disney imagineer who spoke to us, and I was in awe of the research that goes into opening something at Disney. They’re really about making everything at WDW an experience. What a cool job to have!
Here’s some of the key points that I took away from sessions:
- Pursue an emotion vs. a certain thing (such as money) as a measure of success
- The simple little things in life–these experiences mean a lot more to your happiness. Take a step back and notice them sometimes.
- Overwhelmed by the idea of making a video? A site like animoto.com can turn your pictures into a video.
- Don’t be afraid of shadows. They give you the third dimension in pictures.
- Check out your mobile stats on Google Analytics. Mobile blog readers are on the rise, and you should adapt your blog to cater to them.
- Pinterest is becoming a main referral source for traffic.
- Designate a certain time everyday to devote to blogging/social media, and stick to it. Otherwise, the computer can become a time suck super quickly.
- No comment (or tweet) left behind! Reply to all of them! (I need to get better with blog comment replies.)
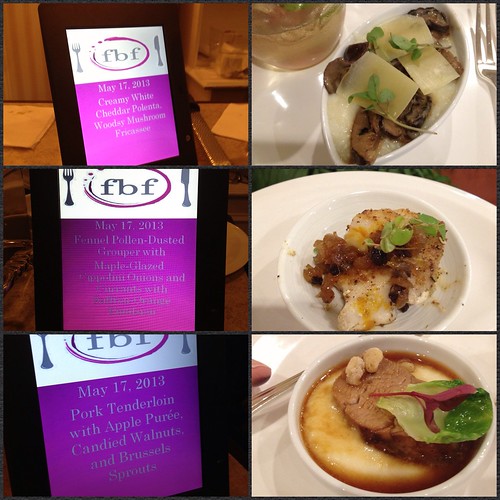
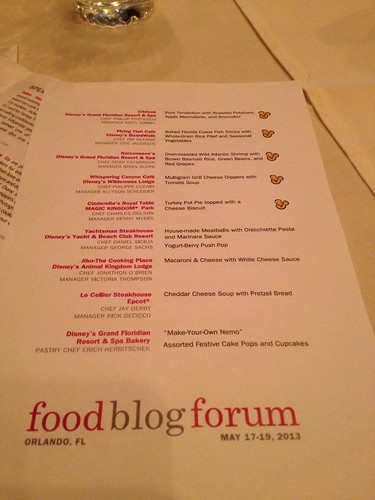
During the conference, we had a great lunch, which featured chefs from various restaurant locations around the Walt Disney World property. It was such a treat to try these dishes in one spot. The theme was “Disney Kids”, so the meals were items that were offered on their kids menu. This wasn’t a menu like peanut butter & jelly and hot dogs. Of course, Disney goes above and beyond…even for the kids! It was all delicious!

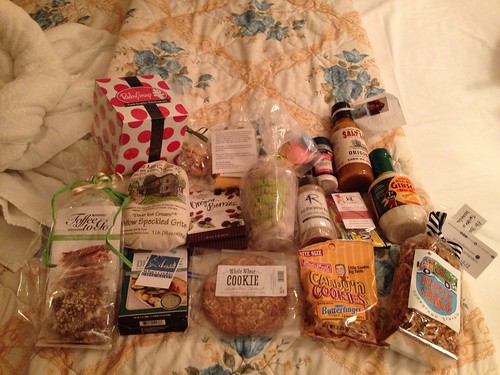
After the conference, we had a small group meet up for an unofficial local food swap. It was fun to bring a taste of south Louisiana there, so I brought some bags of jambalaya mix from this company near Baton Rouge. The owners offered me a little discount on purchasing the mixes since I was purchasing quite a few from them (and they knew they were going to food bloggers), which I definitely appreciated. I have to wonder how TSA felt when they saw 15 bags of jambalaya mix in my bag…big cook-out in Orlando or something? Anyway, everyone brought a good variety of foods..I was pleasantly surprised by it all! If any of y’all from the swap try the jambalaya, please let me know what you think! 🙂
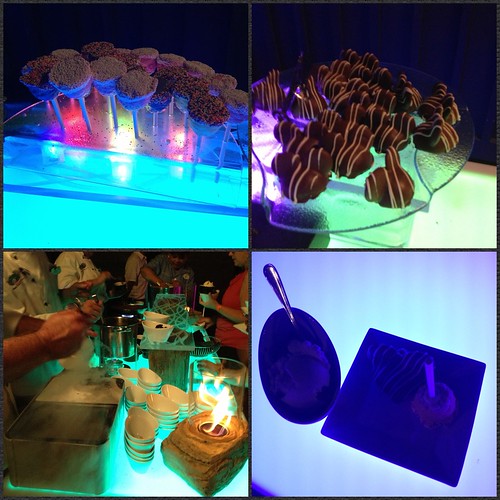
The dessert reception at Fantasmic afterwards was so nice! There was some dry ice involved for one of the desserts, which was fun to watch. Everything I tried was delicious!
I’ve never had the chance to see Fantasmic before, either, so it was nice that the reception was during the show. This Disney fan really enjoyed every bit of that show…I sort of caught myself singing along with it. Sorry for those of you who had to hear that….
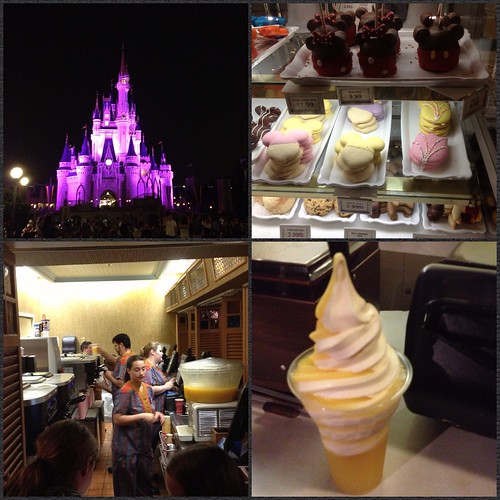
I was pretty tired after the reception, but since Magic Kingdom was open until 1am, I just kept on going. 🙂 I ended up really just shopping a good bit for souvenirs, and enjoying a Dole Whip. It was a humid evening, so the Dole Whip was definitely a hot item to get.
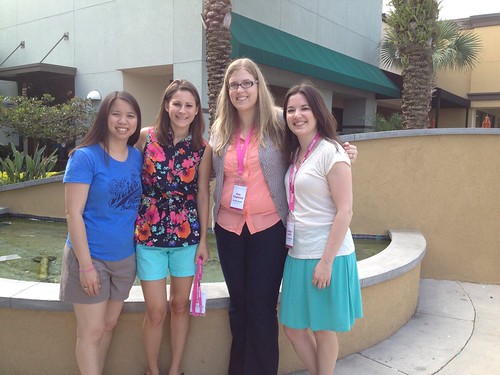
The next day, I packed up everything (SO glad I brought my large suitcase…the swag/local food swap (with the exception of liquids) took up my whole carry-on bag!), met up with Katie and her family and we headed to the brunch at Whole Foods together. While not everyone was able to attend, it was SO nice to see/talk to a few more people and say our good-byes. And of course, the food was awesome, especially the habanero cornbread topped with pulled pork, greens & peaches. Dearest Whole Foods, can I have the recipe PLEASE? So good..I ate two of them…oops!

There was also a mini Red Faced Runners reunion at the brunch. 🙂 Here I am with Katrina (of In Katrina’s Kitchen) and Karyn (of Pint Sized Baker)!
Before we left the brunch, I had to thank Julie (of The Little Kitchen) and Lindsay (of Love and Olive Oil) one final time for organizing this whole conference. These gals are as sweet as I imagined, and I’m so glad they took a few minutes to chit-chat. I know these two were busy the whole weekend, but they seriously never seemed frazzled. I would be a wreck…you gals rock!
I also have to give a special thank you to Walt Disney World, Whole Foods, Jaden & Scott Hair, Diane Cu & Todd Porter, and of course, the SUPER generous sponsors. I was absolutely blown away by this past weekend. I’ll never forget this conference, and I’m just so inspired to write, write, write (as you can probably tell by this lengthy post)! I hope to be able to attend this conference again next year, but based on how quickly the tickets sold out this past year, only time will tell!
Amy, it was SO nice to finally meet you! Disney was a blast, wasn’t it? I don’t have the guts to do Splash Mountain though… Pirates was about as extreme as I get (I’m lame, I know) haha. 🙂
It was nice to meet you, too!! 🙂 I love Disney…LOVE IT! And hey, if it makes you feel better, Tower of Terror scares the something out of me…I could NEVER ride that!
Wow, that looks like a ton of fun! I love Disney World, too, so I would have been just as happy as you to have such a short wait at Splash Mountain!
Thanks for recording the tips you learned from the sessions. They’re great!
I think that was the biggest victory of the weekend..I’ve never seen a wait that short for Splash Mountain! 🙂
Glad the tips I shared are helpful! It was a really inspiring conference.
So happy we met over the weekend! Believe me – you were not the only shy one there. I was pretty nervous too, and so grateful we were invited to go bowling at Splitsville. Getting to know you and the others in a fun, small group setting was awesome. 🙂
It was nice to meet you too! Splitsville was really nice…I was a bit overwhelmed at the reception, but hanging out with 10 people was a lot less intimidating. 🙂
It looks like you had a fantastic weekend! Disney is the best!
Thanks! 🙂 Disney really is the best.
What a great time you had at Disney, Amy! I agree, WDW is incredible at making everything an experience. The dishes all look so delicious… especially the Whole Foods brunch! Key Lime shrimp + plantain chips? YUM!
Oh man…aren’t they? It was so cool to hear about the imagineers essentially make things come to life there. Love it!
I am so glad we finally got to meet in person! I had such a great weekend at the conference and it is always nice to have a friendly face to hang out with. 🙂 Hopefully our paths will cross again soon!
It was great to meet you, too! What an awesome conference…hope to see you again sometime soon, too!
So nice to meet you!! Great recap! xo
It was nice to meet you too! 🙂
Yay! I’m so happy we got to meet and spend some time together! You are the greatest. I hope I wasn’t too much of a nervous nerd for you 🙂
Oh c’mon, girl! You didn’t seem nervous…I’m sure I was more nervous to meet you! LOL!
It was so great to meet you Amy!! Your recap is great, makes me want to go back! 🙂 Splash Mountain is one of my favorite rides at MK! Playing at the parks at night is fun 🙂
I love the parks at night…less heat (haha), less people & seeing everything lit up is a whole new type of magic! 🙂
I’m so jealous you got to go! This looked like an amazing conference!
It really was! I highly recommend it!
What an amazing weekend of food, fun and blogging!! What a wonderful event to attend, I was drooling over everyone’s twitter, FB, and IG photos…gah to be a fly on the wall!!!
Plus, I wish I would have gone and met you as well, you are on my list of bloggers to meet in real life! I can’t wait to see the new changes coming up on the blog!! 😉
It really was…definitely exceeded my expectations! I wish I could meet you, too…someday!
Woo hoo! Thanks for the RFR5K shout out! You have been a weight loss inspiration! It was great to get a chance to chat with you. I am more committed to getting my runs in! I hope to meet you again!
You’re so sweet! Thanks! I’m so glad we got to talk, too. 🙂 I’m sure we’ll meet again!
Wonderful post! Didn’t the weekend go back quick! Just think this time last week I was in my car on the way to Flordia, and now here I am sitting at my desk back in VA haha. Hope to see you next year at FBF!
Thank you! It really did…can’t believe it’s almost June! FBF 2014 will be here before we know it!
I’m so glad you posted this recap!! I loved pretending I was there with everyone posting on Twitter and IG. This recap definitely is making me consider (hard) going next year. Can’t wait to see all the changes you put in place!!
Thanks! That was totally me last year…I had to make it happen this year, and I’m so glad I was able to attend!
GIRL–What an amazing adventure! It’s looks like you had a great time. Can’t wait to see all the changes. Maybe next time I’ll be able to join you there 🙂
It definitely was a wonderful weekend! I’d love to meet you, too!
So fantastic finally meeting you Amy! I hope to see you again sometime. PS I seriously want to go bowling now lol I never would’ve guessed Disney had bowling prior to this past weekend.
It was so nice to finally meet you too!! Hopefully, we’ll see each other at another blogger conference sometime soon!?
Great post! I enjoyed the conference as well! And the Foodie Swap! I brought Key Limes, not sure if you got them… I had 3 bags leftover and I shouldn’t have! :-/
Looking forward to reading more!
Oh no! Were you in group 1, too? If so, I guess I missed out on those!
I can’t believe I missed seeing you guys!!!!!! 🙁 I’m so glad you had fun though. And I think I need that OXO flip top container for pug food, I am checking it out right now.
I’m sorry we couldn’t meet up, girl. 🙁 And LOL…that’s a good idea! I could use them for dog treats, for sure!
Amy,
It was so great meeting you last weekend! After being pals on IG, it was awesome to meet in person. I’m still in awe of the incredible event Disney and FBF put on…even though I’d gone last year…it still WOWS me!! 😉
Excited to keep up with your blog now.
Hugs,
Denise
It was so nice to meet you, too! I’m so glad we got to chit chat, and enjoy this amazing conference!
It was so great to meet you Amy!! I’m bummed I missed brunch, the food sounded amazing!!
It was so nice to meet you, too! 🙂
I started following your blog from RedFacedRunners. I didn’t know you were Mrs. Ballet Flats. I got married in late 2009 and followed the Wedding Bee brides a lot in 2009/2010. I loved your NOLA wedding! What a small world. (oops! didn’t mean to make a Disney pun!)